

Illustration of Cross Section

The previous processes


Removing the plaster mold (Dakkanshitsu) is the most nerve-wracking stage in dry lacquer production. It is the process where the original model is destroyed to reveal the hollow interior, allowing the vessel to finally stand on its own.
1. Removal of excess material
2. Leveling the edges
3. Waterproofing the edges (Ki-urushi + Sabi)
4. Soaking (a few minutes)
5. Removing the plaster mold
6. Water-sanding
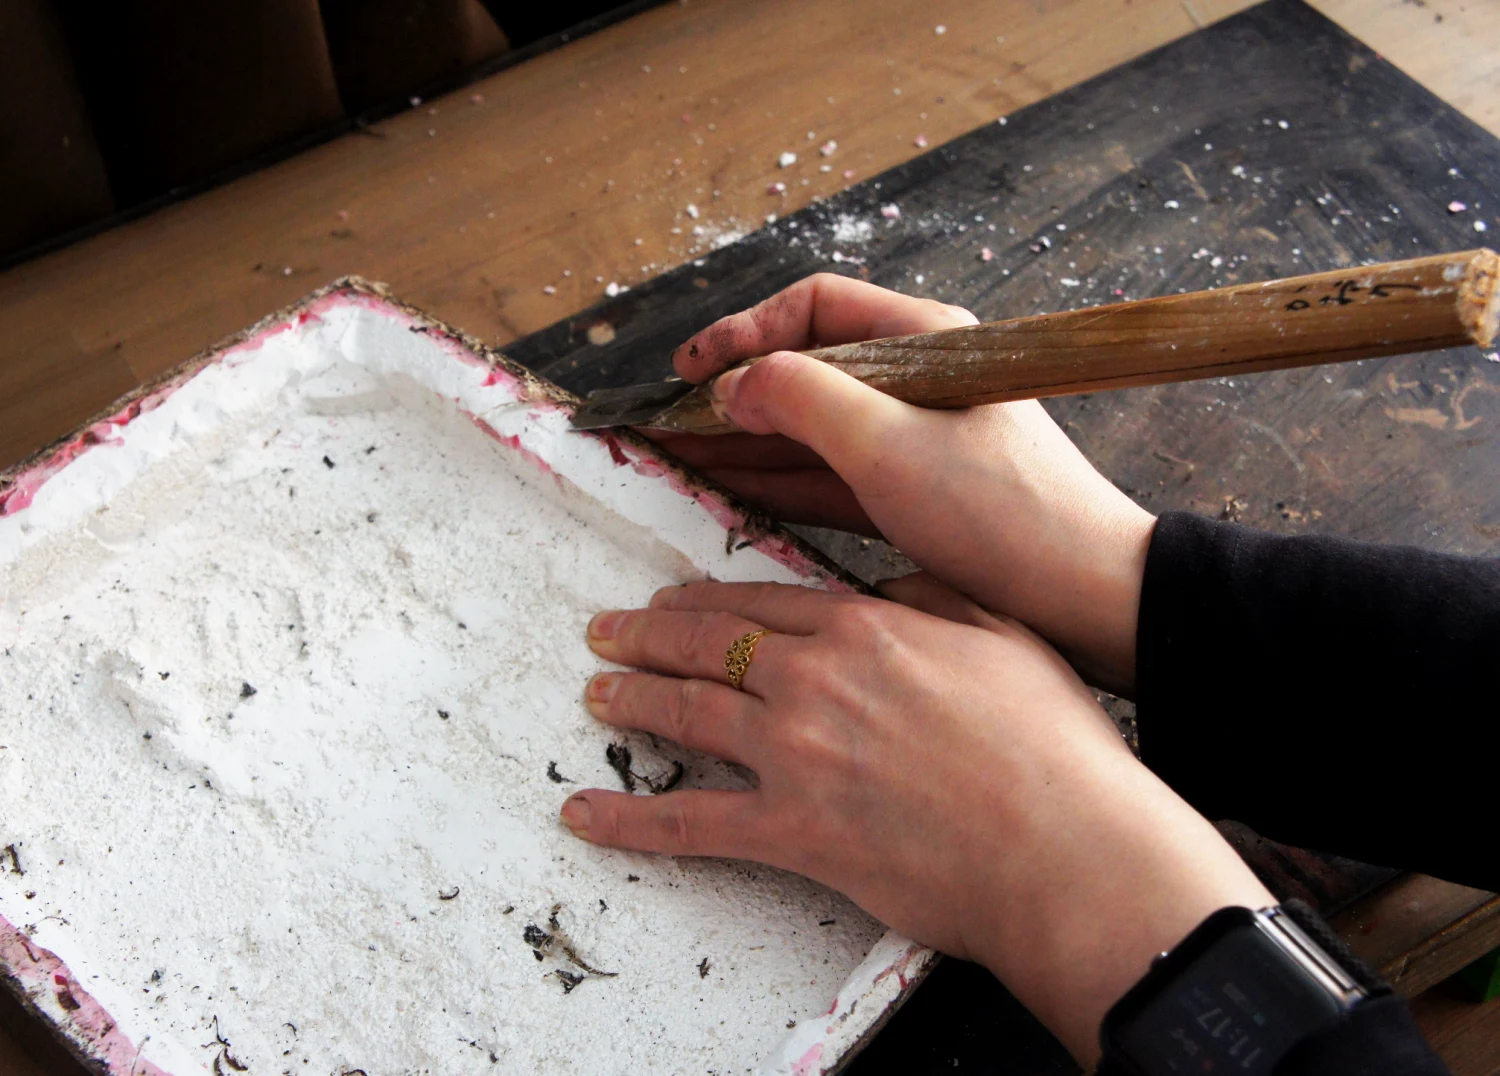
To prepare for mold removal, I use a carving chisel to carefully scrape away any excess lacquer or hemp cloth protruding from the edges of the mold.
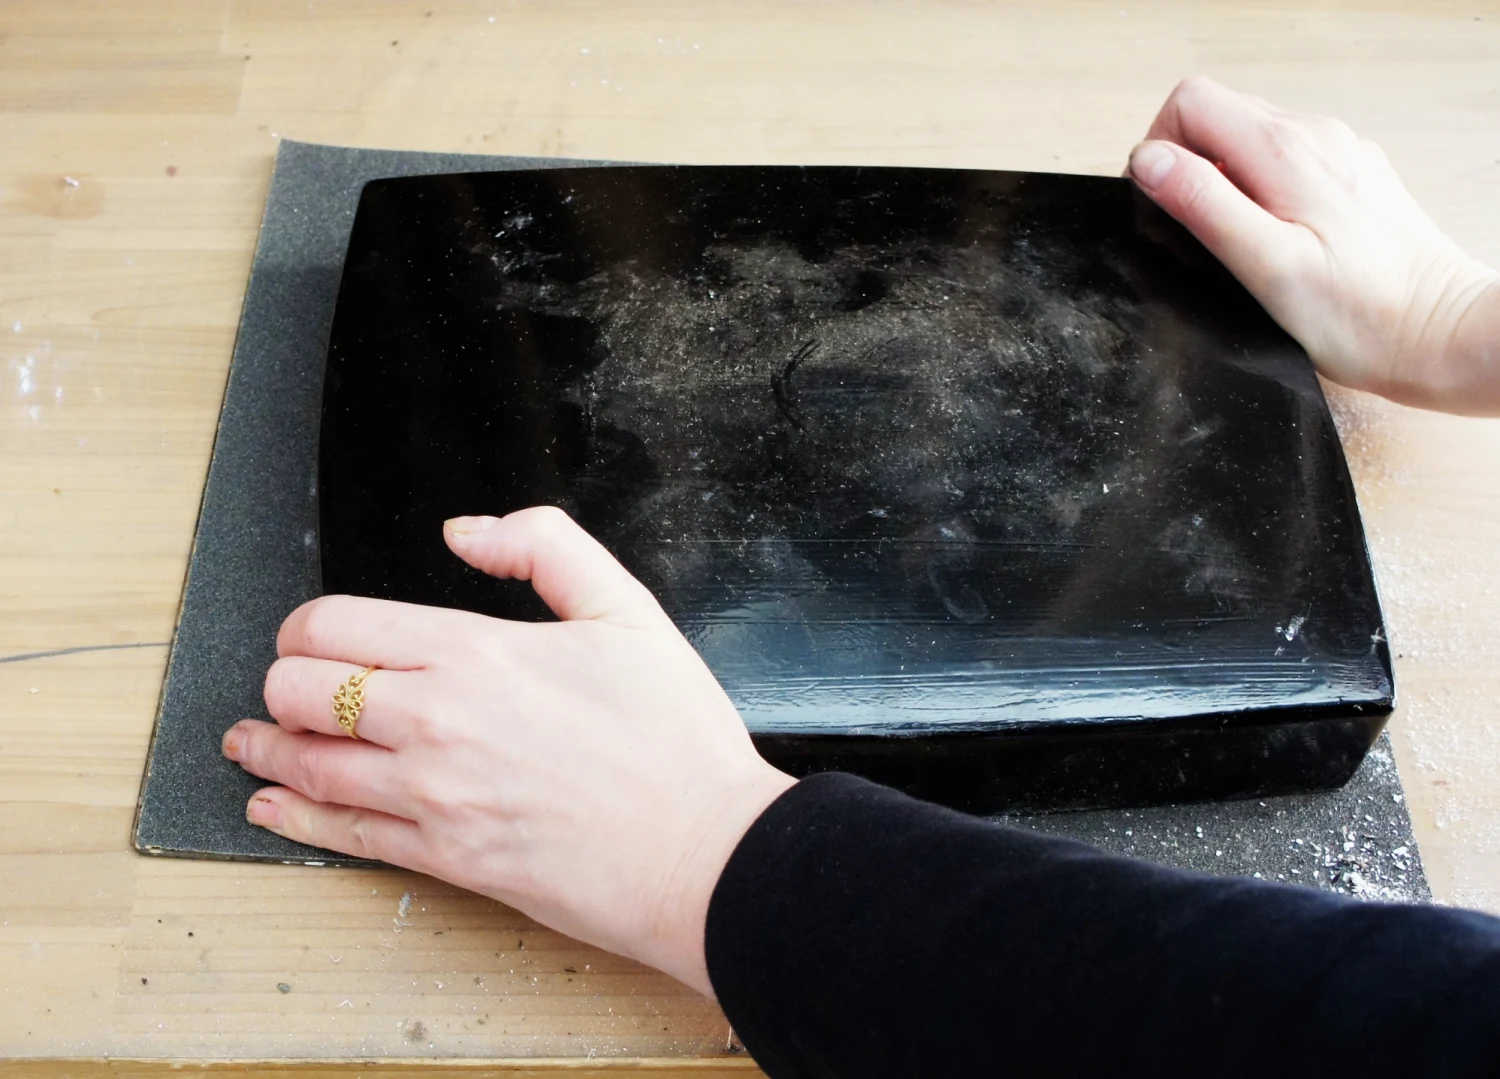
Next, I lay 80-grit wet/dry sandpaper on a flat surface and rub the entire piece against it to create a perfectly level edge.
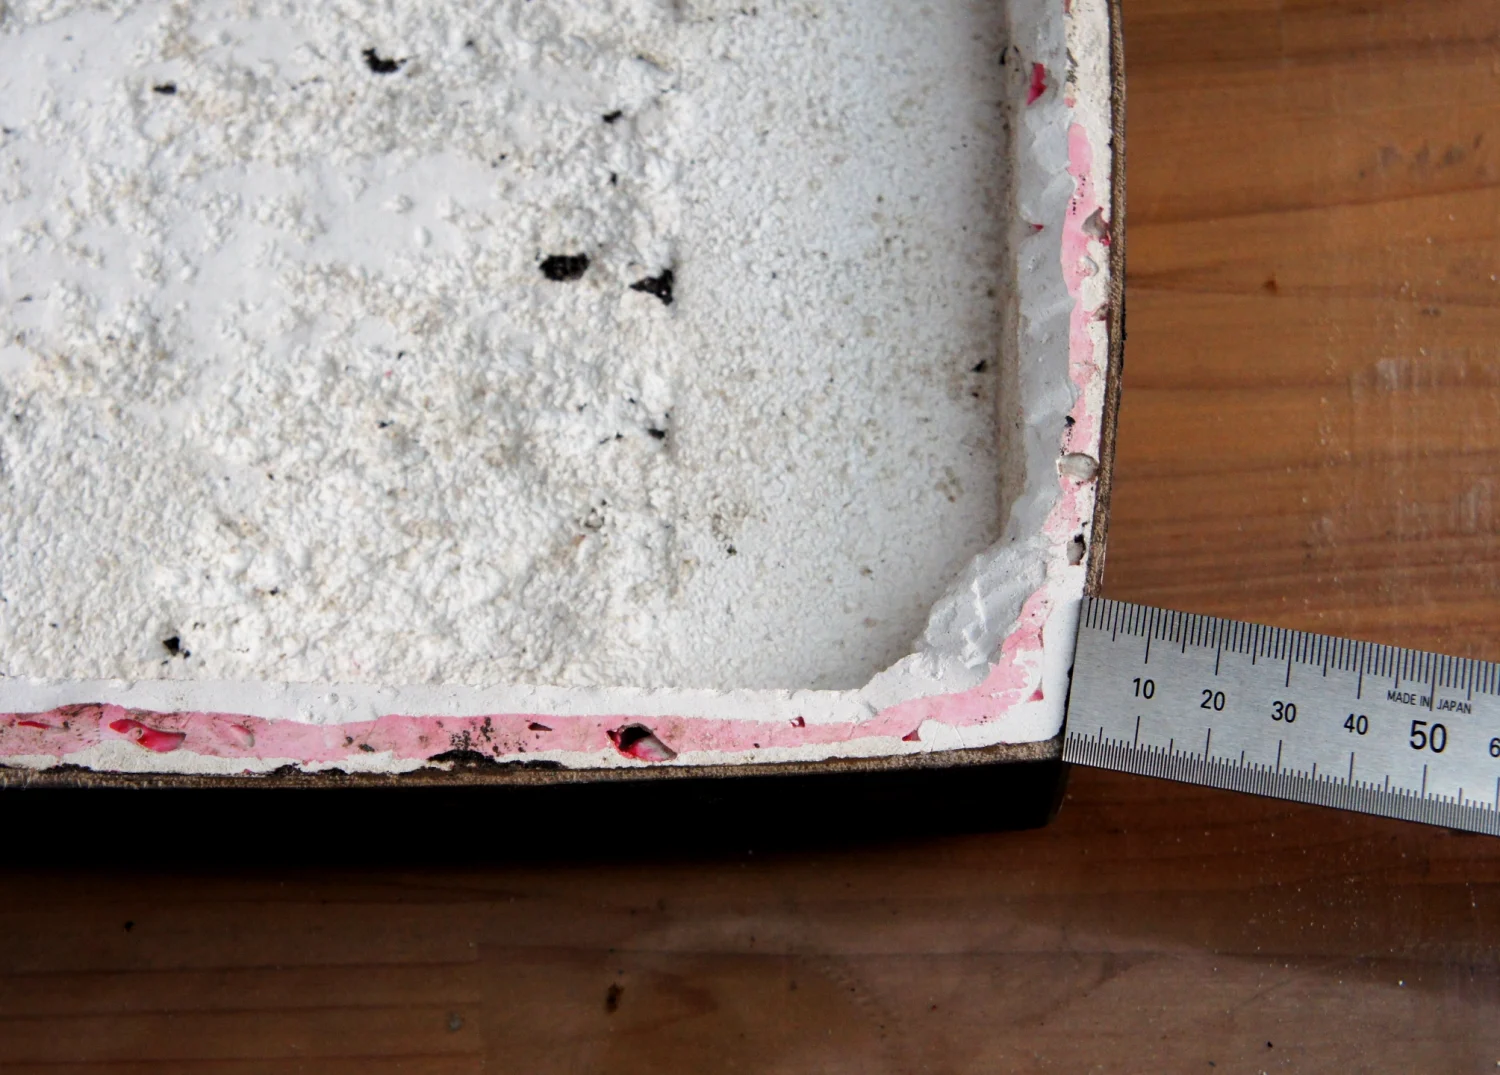
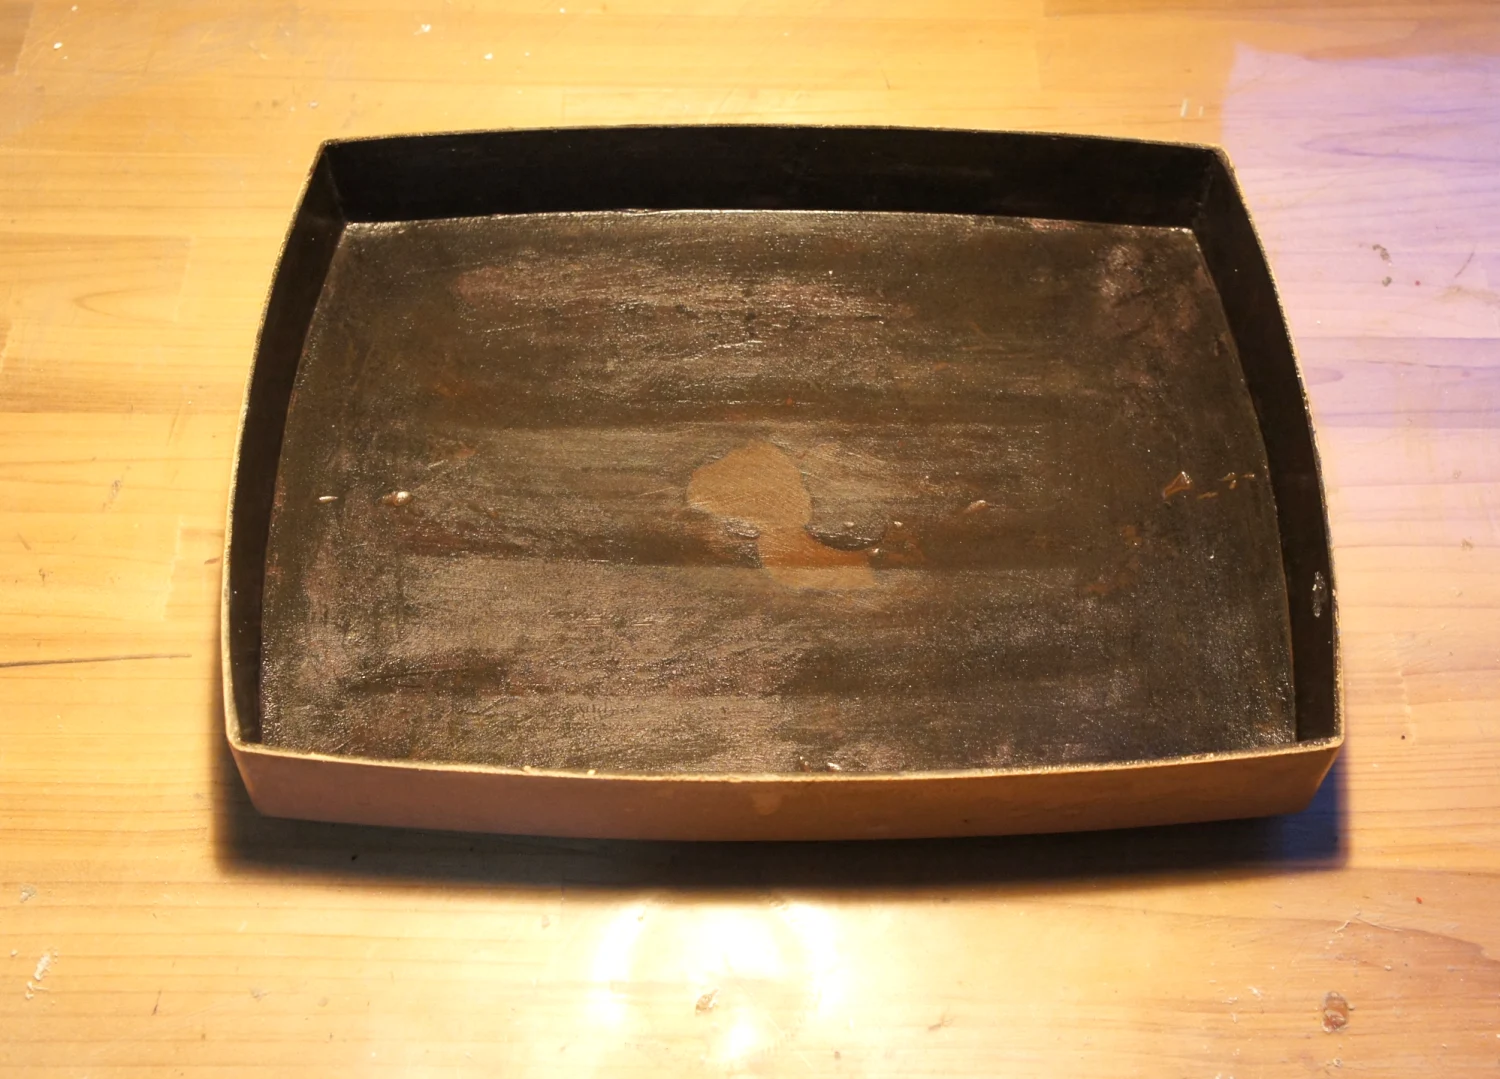
This piece is a lid for a box, and the edge thickness was exactly 2.2mm.
Once the level surface is established, I move to treating the edges.
Sabi: After the lacquer has hardened, I apply Sabi (a mixture of raw lacquer and Tonoko powder) to fill any irregularities and create a smooth finish.
The entire object is soaked in water for about 5 minutes. This makes the plaster brittle and easier to remove.
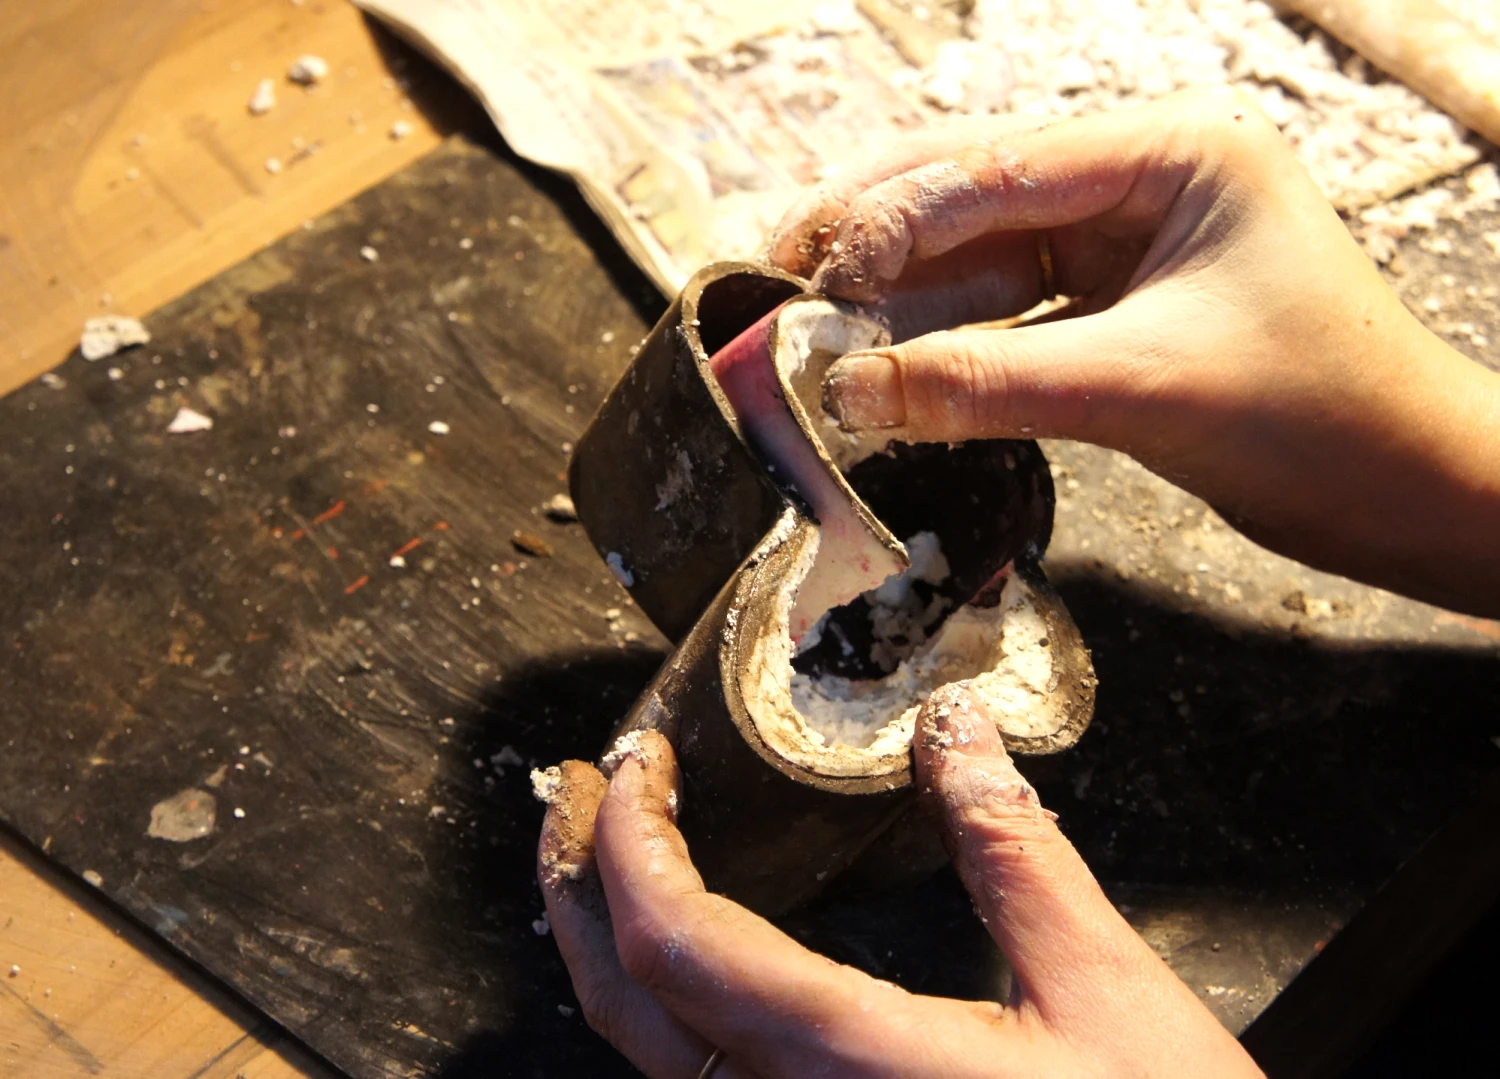
Finally, it is time to remove the inner plaster.
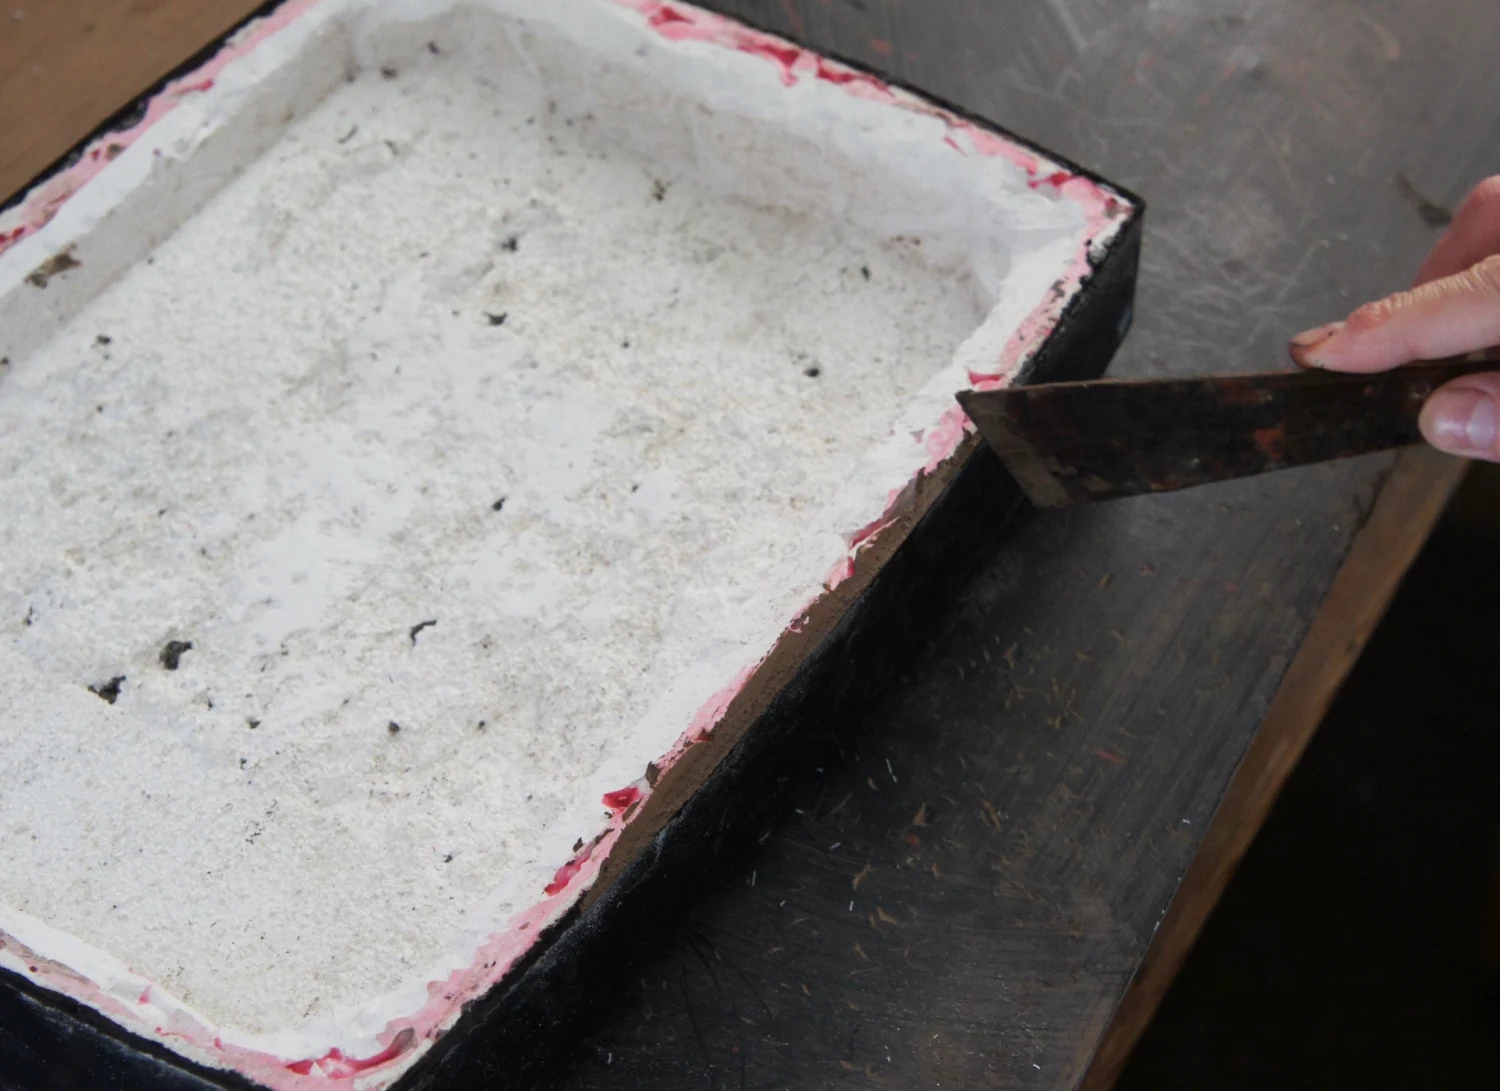
Creating a starting point: I carve cross-shaped grooves into the plaster to serve as a guide for breaking it.
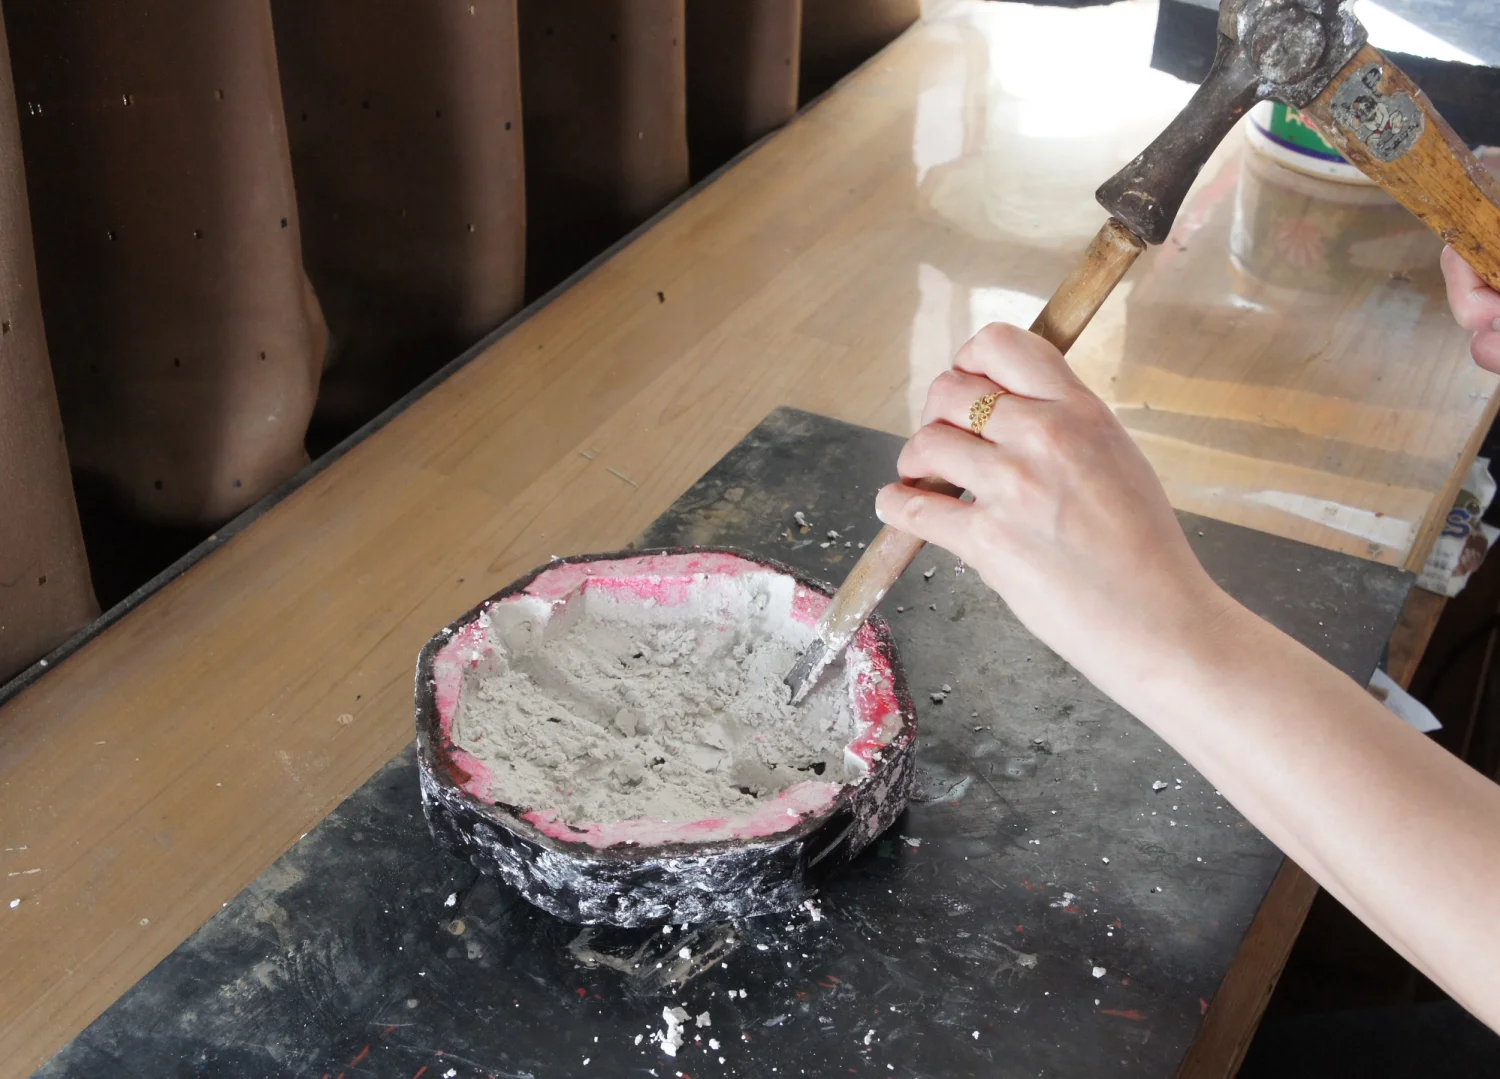
Removal: Using a carving chisel and a mallet, I apply gentle vibrations to shift the plaster bit by bit, carefully breaking it away.
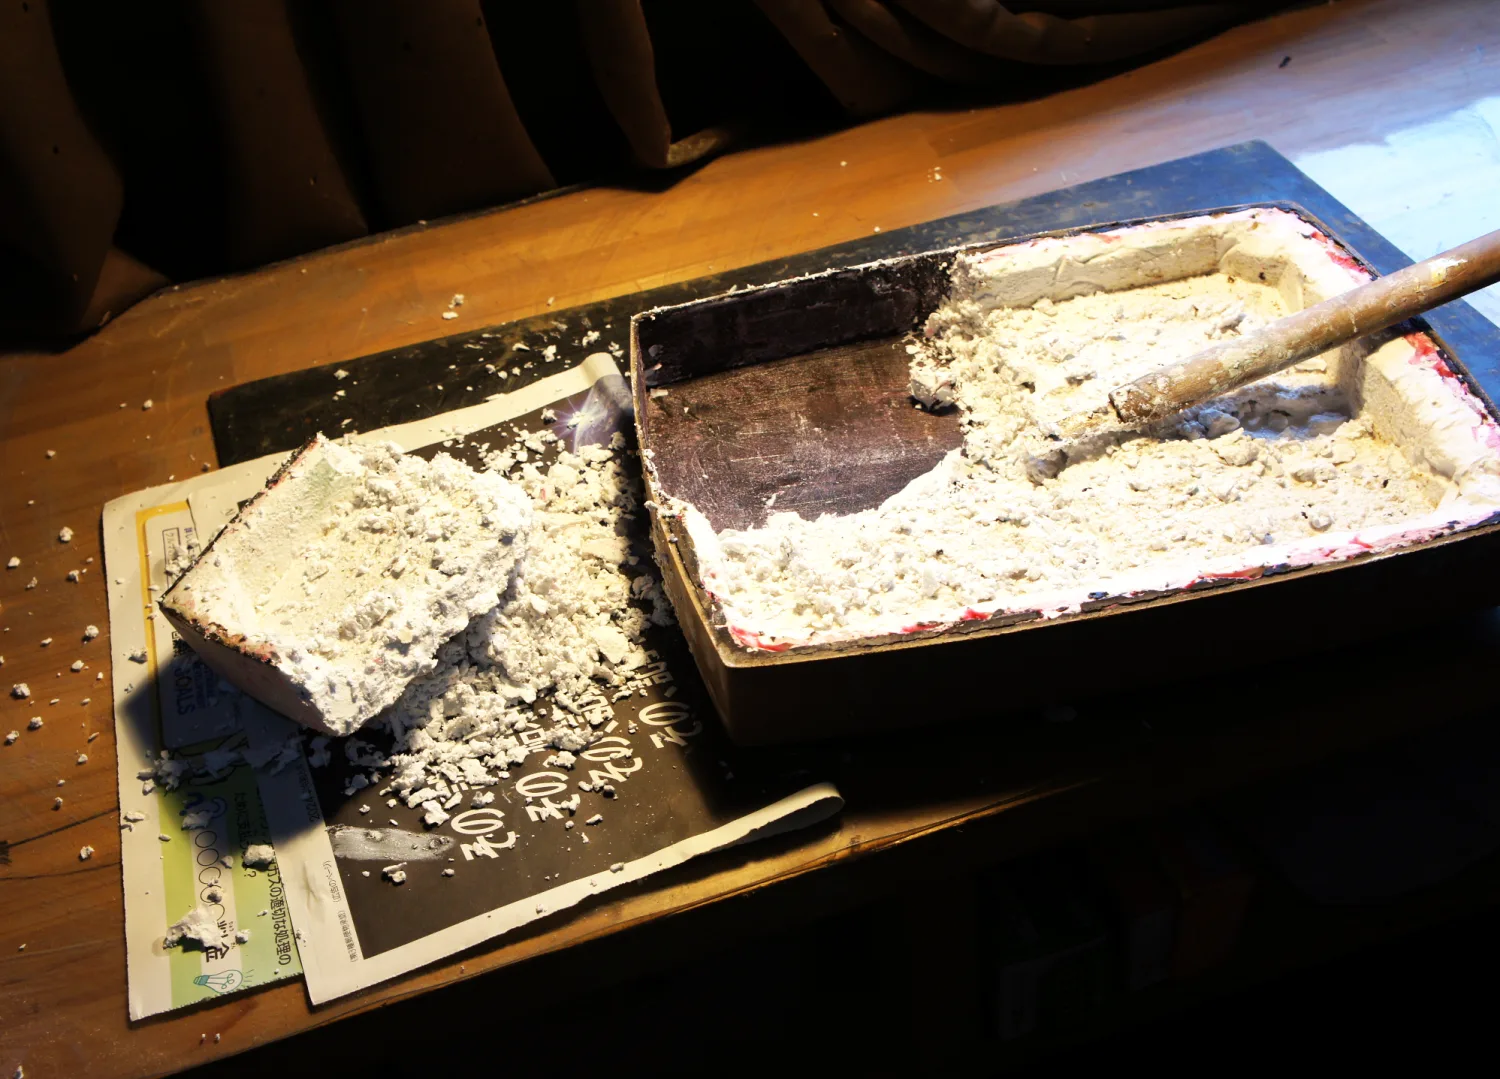
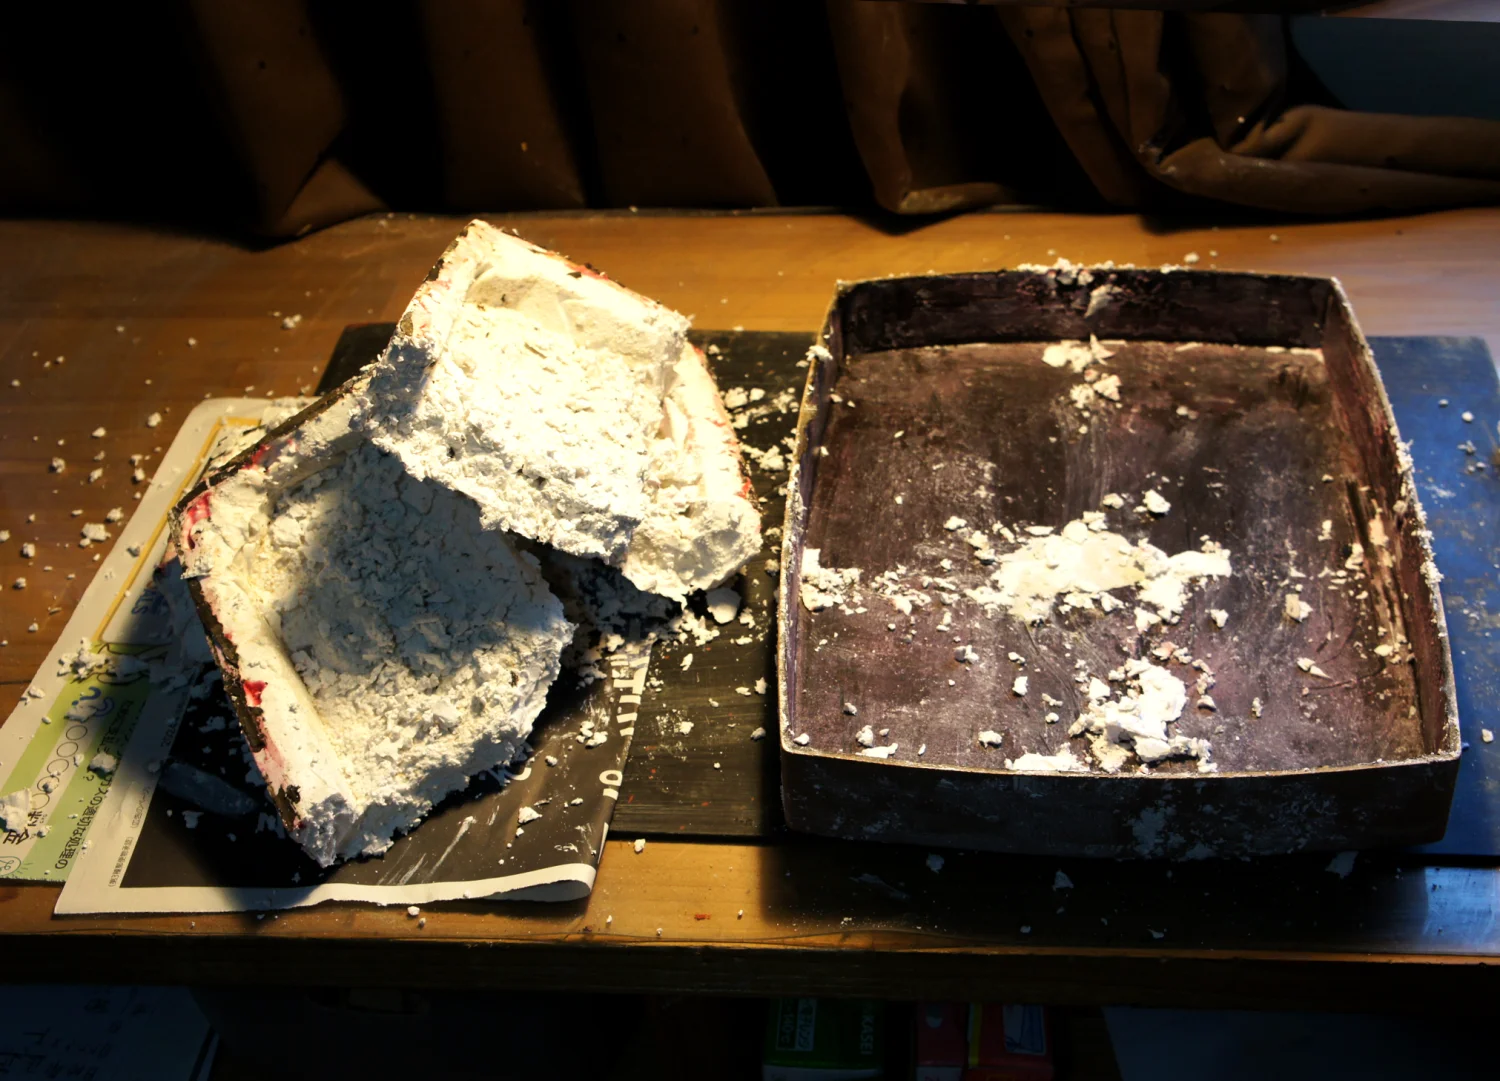
I proceed with extreme caution to avoid damaging the body.
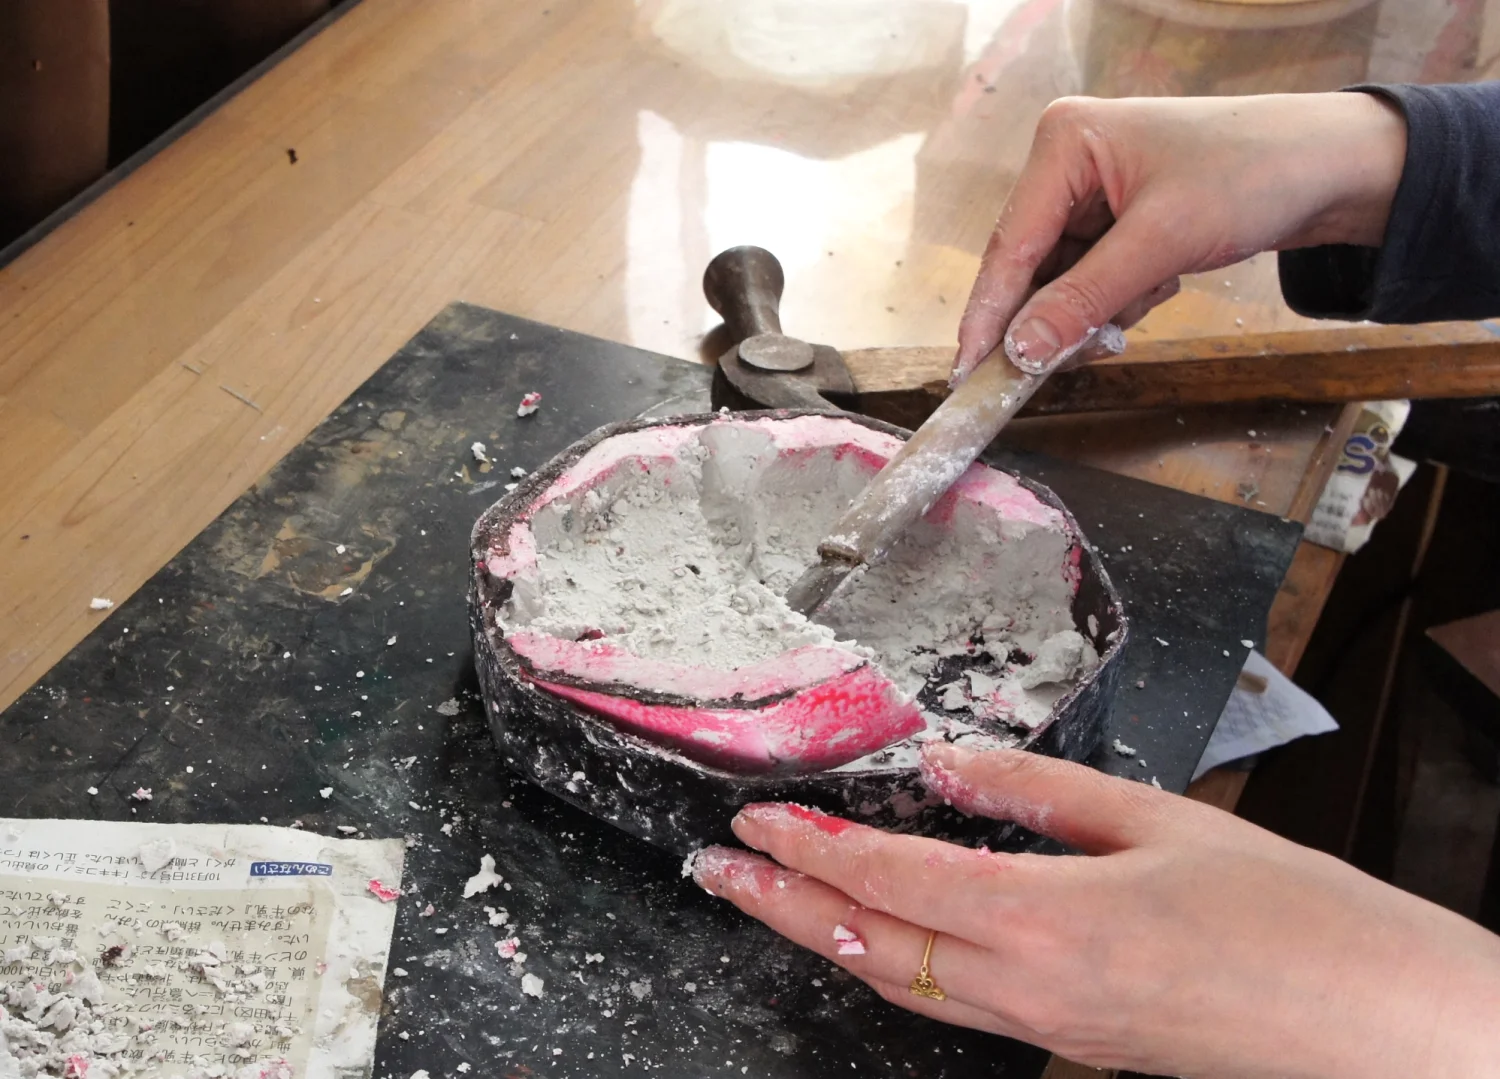
The process of breaking the plaster mold and removing it from the octagonal box.
I am also currently working on butterfly-shaped boxes.
Since 2025, I have been working on a rectangular box, an octagonal box, and eight butterfly-shaped boxes simultaneously. So far, only one Choshitsu (carved lacquer) piece has been completed. For the others, I am continuing to apply layers of lacquer while refining their designs.
This concludes my records of the basic Kanshitsu process. From now on, I hope to share more of my day-to-day work as it happens.
2026.01.23