| 4. |
Dry
Details
|
After drying, remove the inner clay or styrofoam.
|
|
| 5. |
Apply mold release agent to the plaster model (2 to 3 times)
Details
|
After boiling glutinous rice flour and water to make a
paste, add a little paint to it. (To make it easier to
see if the thickness is even when colored.) |
|
Place something in the empty space inside the plaster
(the beige part of the image). |
|
| 6. |
Apply tonoko-sabi (fine-grained base paste) and jinoko-sabi
(coarse-grained base paste) twice each in this order.
Details
|
Do not use a brush for painting, but use a brush
(horsehair) to process kanshitsu. If you do not have
that type of brush, use another proper brush or a
spatula. |
|
Smooth the surface with a sandpaper while keeping the
uniform thickness. |
|
Tonoko is a fine-grained stone powder, and jinoko is a stone powder with slightly larger particles than tonoko. |
|
| 7. |
Cut a piece of fine linen cloth (#100~#110) to a size that extends 4~5
cm beyond the vessel. |
| 8. |
Apply the cloth of 7.
Details
|
Make a glue of from glutinous rice powder + ki-urush. |
|
Leave 1 cm of cloth over the bottom and apply it to the
plaster. (After that, do not apply the protruding cloth
to the plaster, but cut it off at the edge.) |
|
After drying, cut the overlapping cloth with a carving
knife.
|
|
| 9. |
Fill in the fablic
Details
|
Make a glue made of glutinous rice powder + ki-urushi
+ Wajima-ground powder and rubbed into the
recesses of the fabric with a spatula, and after it
dries, it is polished dry with sandpaper. |
|
| 10. |
Apply 3~5 sheets of coarse linen cloths (#25~#80) in the same procedure as
7.~9.
Details
|
Do not protrude the cloth to the bottom (the edge). |
|
Apply 1~2 more cloths only to a part where you want
more thickness. |
|
When attaching legs or the edge of the bottom backside,
attach them after applying the last layer of coarse
linen cloth. |
|
| 11. |
Apply a piece of fine linen cloth (#100~#110) in the same procedure as
7.~9.
|
| 12. |
Apply jinoko-sabi (coarse-grained base paste) and
tonoko-sabi (fine-grained base paste) twice each in this order.
|
| 13. |
After polishing with a whetstone, harden with ki-urushi., and after it
dries and hardens, apply one coat of black urushi. |

| 14. |
Remove uneven edges
Details
|
Cut off any excess cloth or the base layer that has
appeared below the lower portion (the edge) with a
carving knife.
Then scrape the lower portion on a large flat
surface sandpaper until the plaster comes out.
|
|
The portion where the cloth and the base layer appeared
is then coated with several coats of ki-urushi and add
Tonoko-sabi (fine-grained base paste) and waterproof it
well for the process in 16. |
|
| 15. |
Dry (harden)
Details
|
If necessary, place it in an oven at a temperature of 80°C for 24 hours to harden well.
If the inside is not firmly hardened, the
shape of the vessel may be distorted after it is removed
from the plaster model. If an oven is not available, to
reduce this risk, ensure that each step in the process
hardens one fully at a time. |
|
For more detailed material on the baking of urushi,
please refer to "Study of Traditional Baking urushi
Techniques".
[1]
(National Research Institute for Cultural Properties,
Tokyo) though it's in Japanese. However, this is not a
discussion of kanshitsu but applying urushi on a metal
base. |
|
| 16. |
Soak in water for several hours and then remove the plaster model.
Details
|
In the case of trays and plates, the plaster model can be
reused because it will come off simply by applying force
due to the mold release agent. For boxes, the plaster
model would be broken using a chisel, hammer, or carving
knife.
|
|
| 17. |
Grind the inside of the vessel with a whetstone to a smooth surface,
possibly filling it with tonoko-sabi (fine-grained base paste). |
| 18. |
If the rim is to be thinned, shave it with sandpaper to adjust the
thickness. If the layer of cloth is exposed, apply tonoko-sabi
(fine-grained base paste) to smooth the surface and grind with a
whetstone. |
| 19. |
Proceed with the overall painting process to finish. |
POINT
If the base layer is made thicker, the vessel becomes heavier and more prone to
chipping, so proceed with each step, keeping in mind to make the uniform thickness
and thin as possible. It means that the minimum thickness is required so
that the weave of the cloth will not show up weeks after completion.
Description
Advantages of kanshitsu
It can be freely formed into any shape.
It does not deform like wood.
It is more durable and sustainable.
Hemp cloth does not allow the urushi to penetrate to the core of the threads, leaving the fibers of the hemp cloth, which makes a kanshistu body more
robust. It rarely cracks when dropped, only chipping outside of the sabi
(base layer made of urushi and sand).
Disadvantages of kanshitsu
It taks more time and is labor intensive.
It costs more because a lot of urushi is
used.
It is often heavier than a wooden body.
It is a technique that allows for free ideas to be transformed into modeling, but the
treatment of details varies from shape to shape, and there are many occasions when new
innovations are required. For trays and boxes, For trays and boxes,
legs or an edge on the bottom backside made of wood would be necessary.
The body is made to be uniformly thick, so more cloth is applied or a wooden core is
inserted in the part that needs to be thicker. In addition, the lid and body of the box
must fit together properly, which requires a high level of skill.
For example, in the case of a box, there are several points as shown below.
|
Make the part that receives the lid (light blue part) and the edge on
the bottom backside (pink part) with wood and attach them to the body.
|
| 1. |
Thin the edge and round it. |
| 2. |
Calculate the gap with the lid to be about 1 mm after completion. |
| 3. |
Apply more cloth and make it a little thicker. |
| 4. |
Make the part that receives the lid with wood and attach it. |
| 5. |
After attaching the edge on the bottom backside with wood, plane
and make the outside smooth along with the part of 4. |
Plaster work


First, a plaster model is needed.

Dry them for 1-2 days.

After drying them, smooth the surface with a plane or sandpaper.
References
All of them are in Japanese.
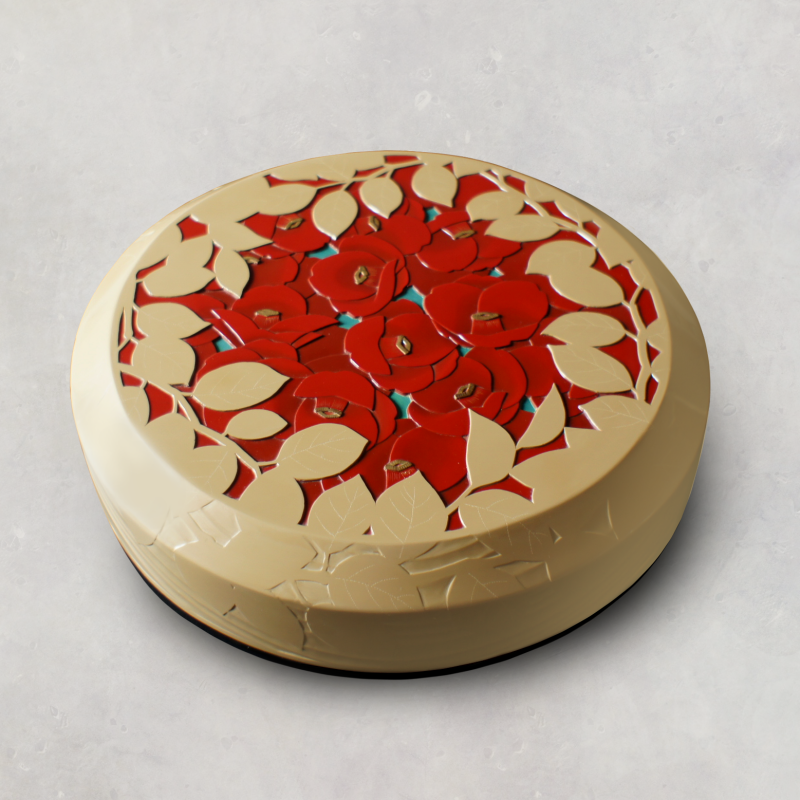
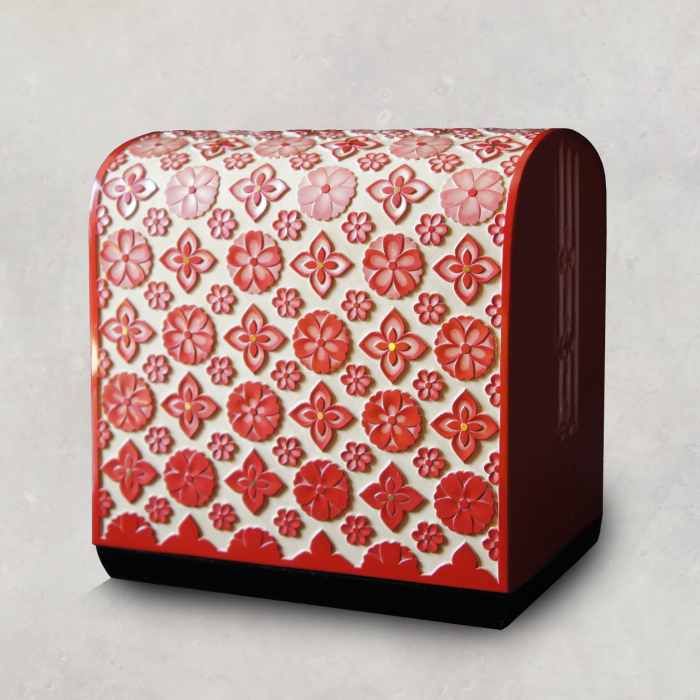
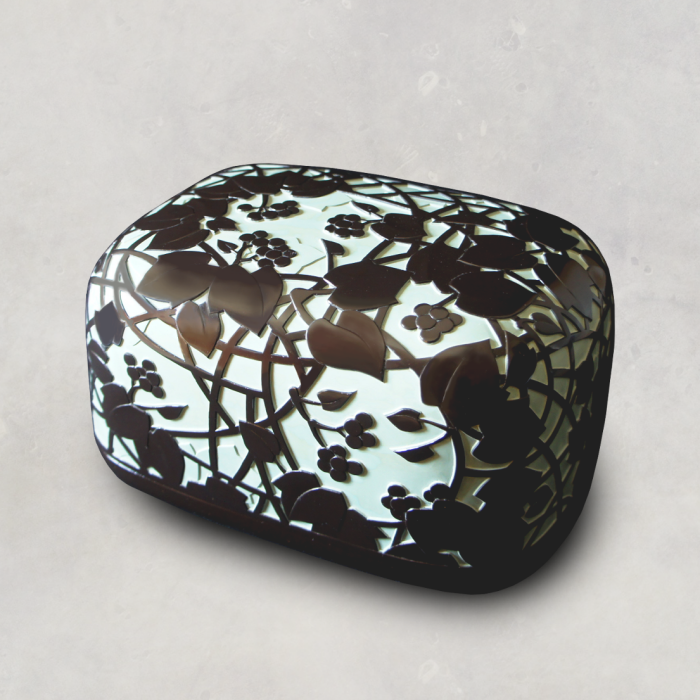
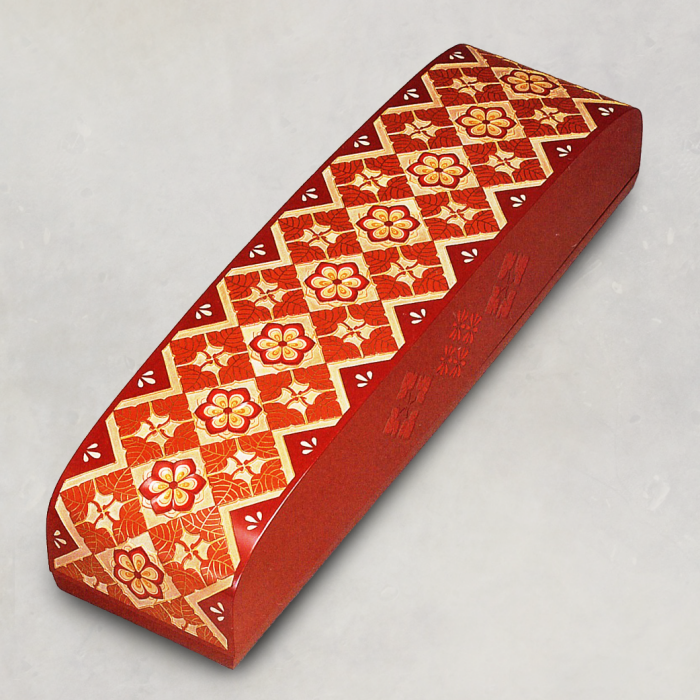
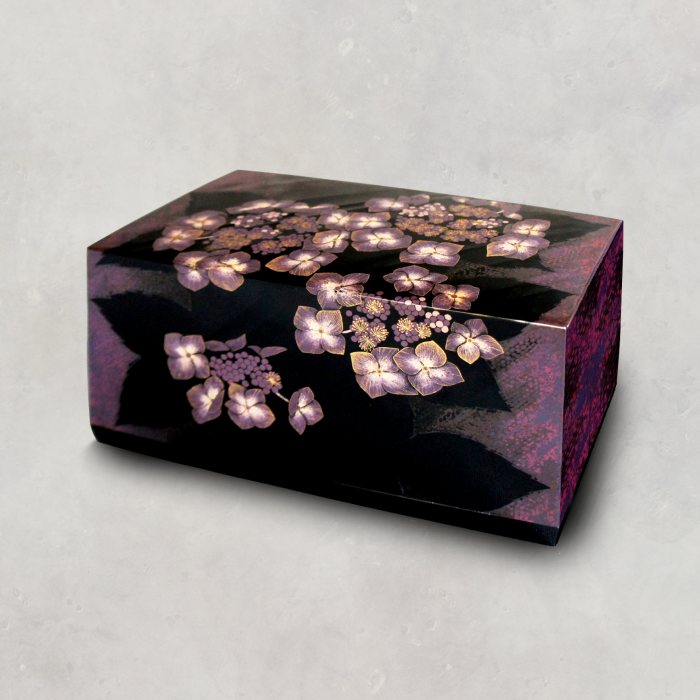
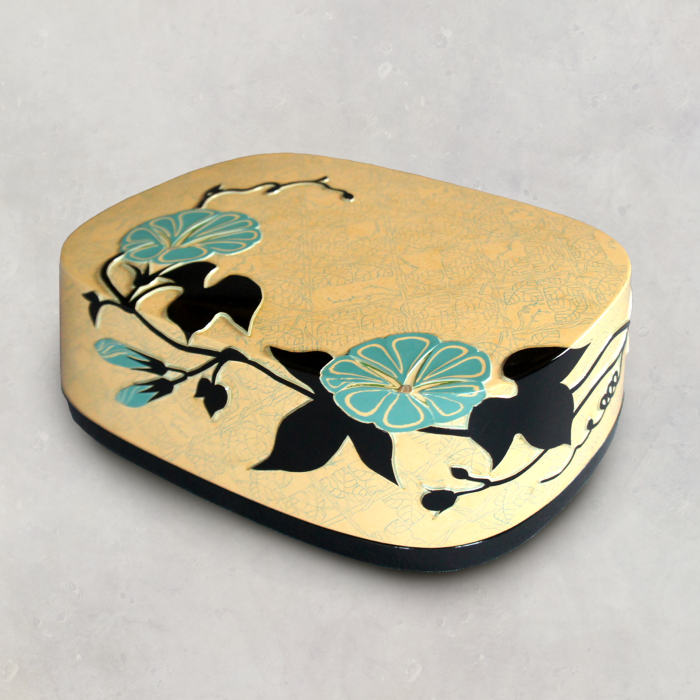
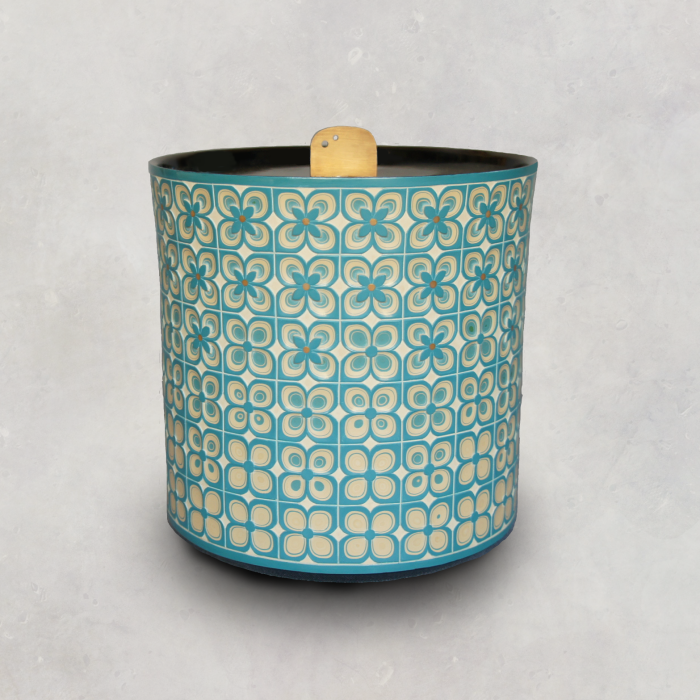
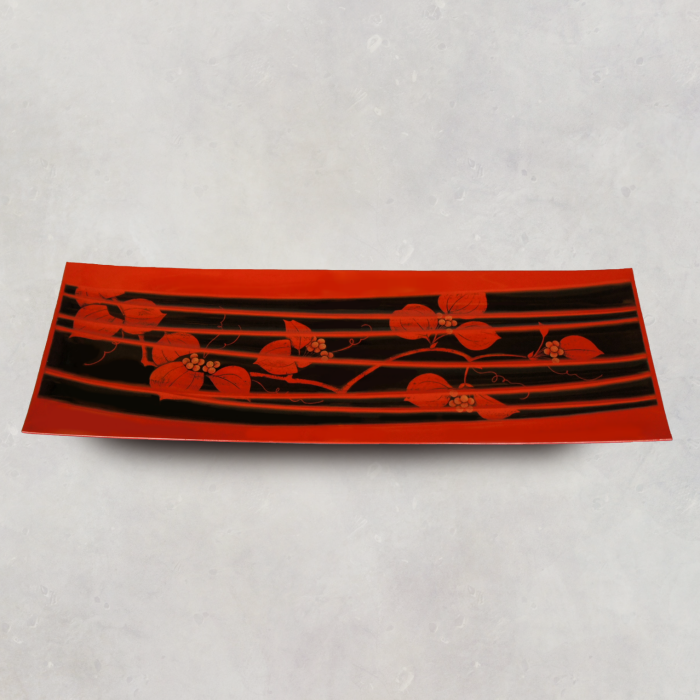
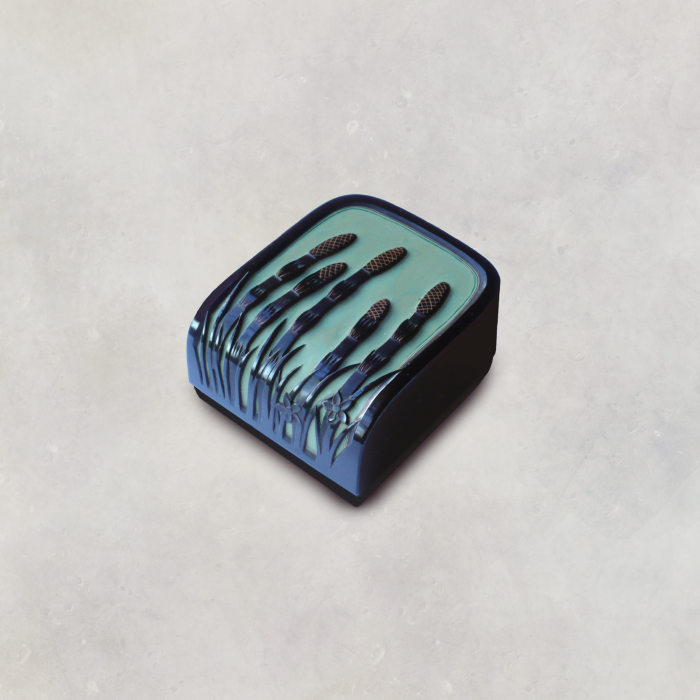
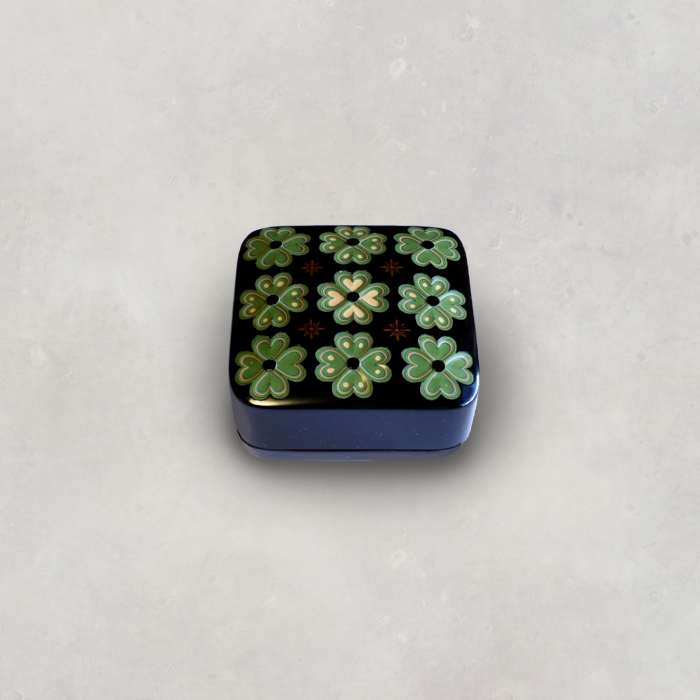
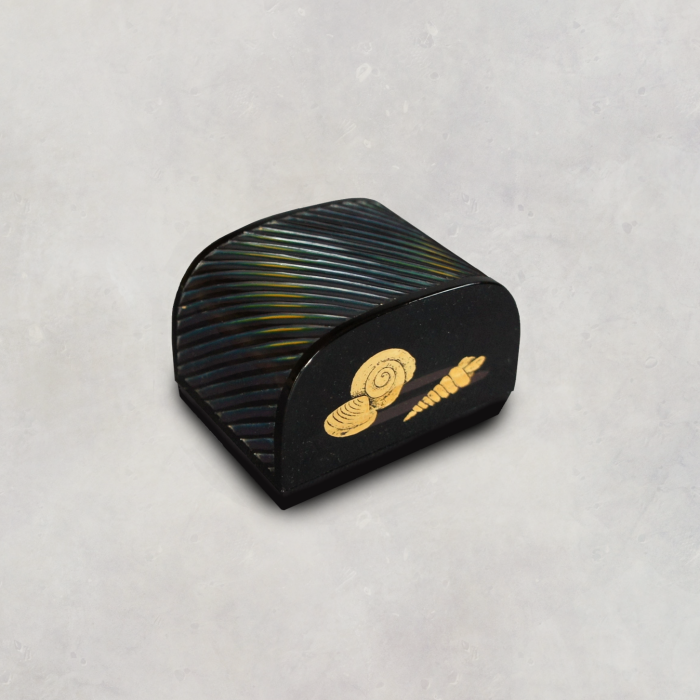
My works of kanshitsu
2024.05.14
2025.04.30